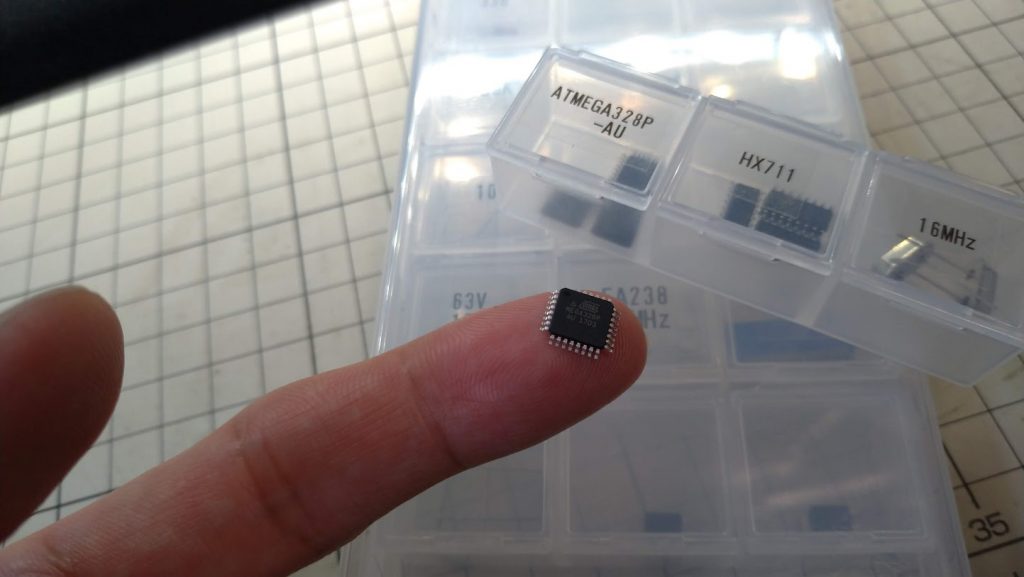
ATMEGA328P-AU is small chip used in Arduino Nano, and chip can be purchased and used for own projects.
When designing circuit board, I don’t want to waste space for pattern just to burn bootloader, which is usually only used once for most of the time.
I use kit sold from aitendo store in Japan to burn bootloader (sorry, not shipped overseas).
http://www.aitendo.com/product/15799
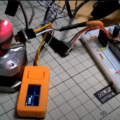
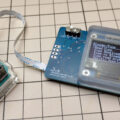
This kit comes with socket for ATMEGA328P-AU and circuit board and some parts. After building kit, connect with Arduino with bootloader burn sketch, then place chip on socket and burn bootloader to ATMEGA328P-AU chip.
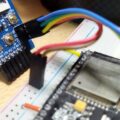
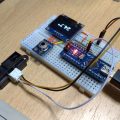
Since original sketch output result to serial port, I added OLED display so it can run stand alone. Connections from Kit to Arduino Nano is as follows (ICSP pin on Kit). And I2C connection from Nano to OLED display.
| QFP | Nano |
| 5V | 5V |
| GND | GND |
| MISO | D12 |
| MOSI | D11 |
| SCK | D13 |
| RST | D10 |
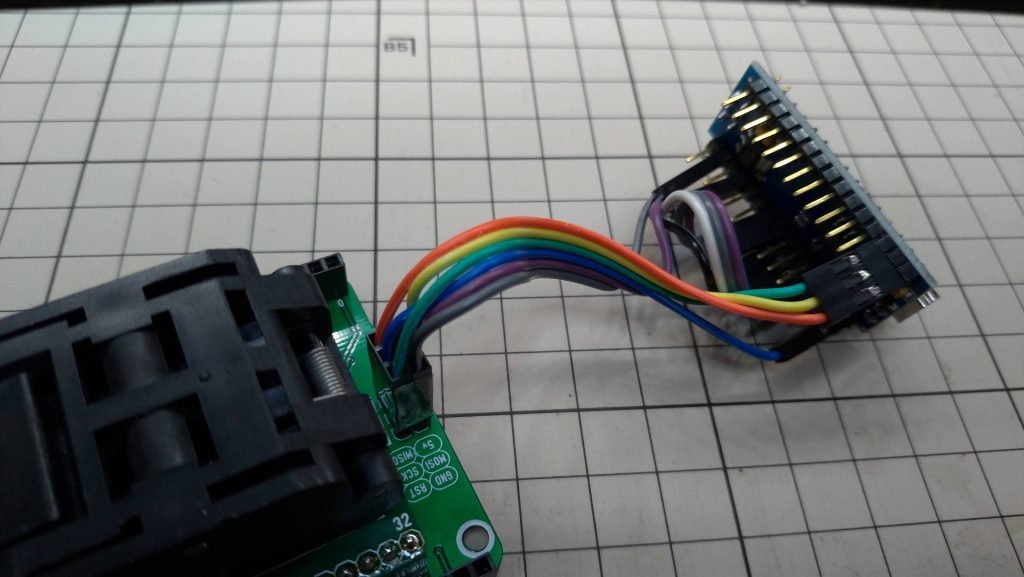
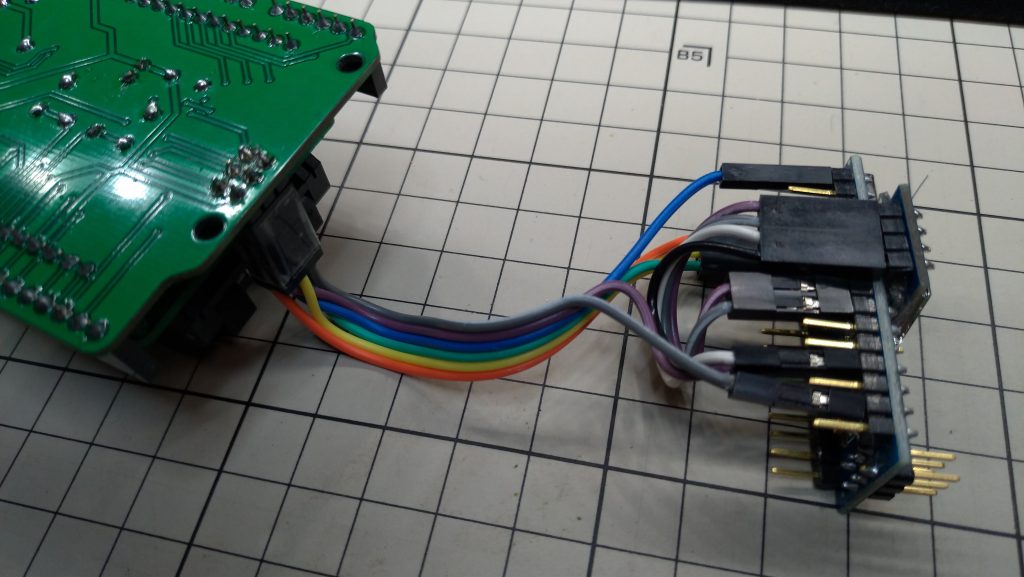
OLED display shows burn status. Place chip on socket, close lid, power up Arduino Nano and it will start burn process.
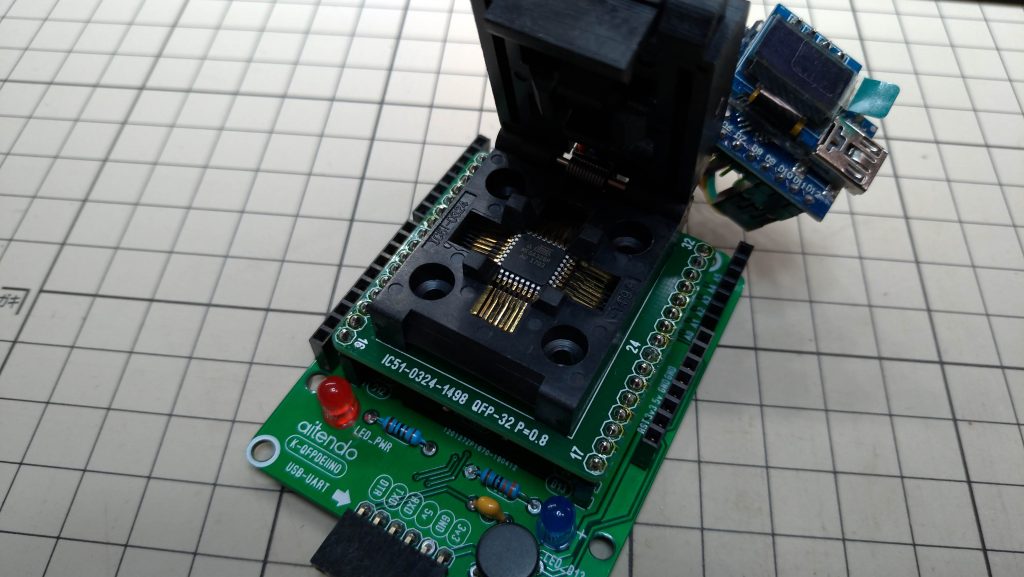
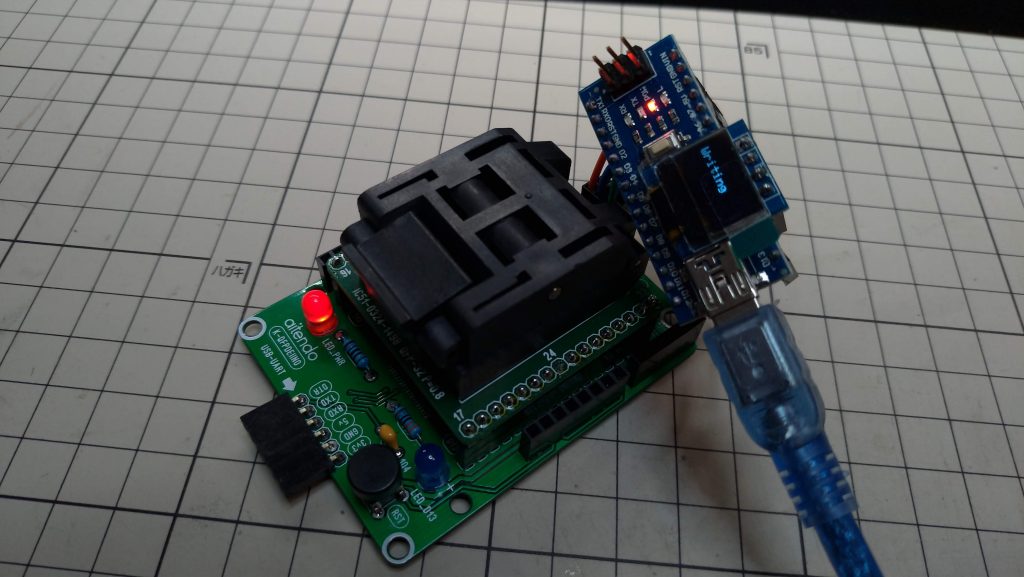
Movie in action.
Below is skech modified to output OLED display. U8glib is used.
Original sketch is from below page.
This post is also available in: Japanese


