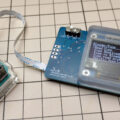
I2C connection Monochrome OLED display is very handy to use. Easy wiring and various libraries provided, such as Adafruit GFX, u8glib, u8g2lib.
Monochrome bitmap can also be displayed. You need to prepare bitmap image and convert to hex data. There are tools you can download, but I couldn’t find one that is easy to use.
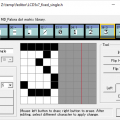
So, I’ve created easy-to-use tool to convert bmp file to hex data (for Windows).
Built with Visual Studio / C++. Use freely, no support, use at your own risk.
Simply create bitmap file with MS paintbrush for example, save as 24bit bmp file.
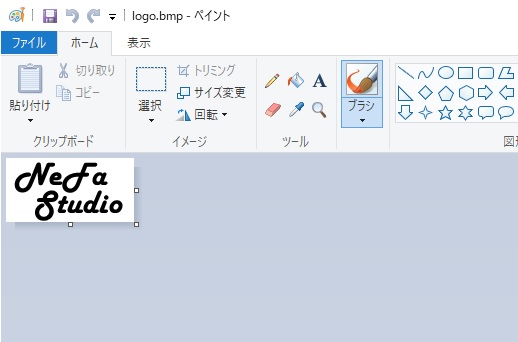
Launch tool, drag and drop bmp file to tool. You get hex code, copy to your sketch.

For Arduino, change definition to like below.
const unsigned char bmpdata[] PROGMEM = {
Then, use bitmap function with location and size parameter.
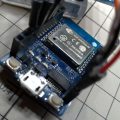
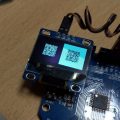
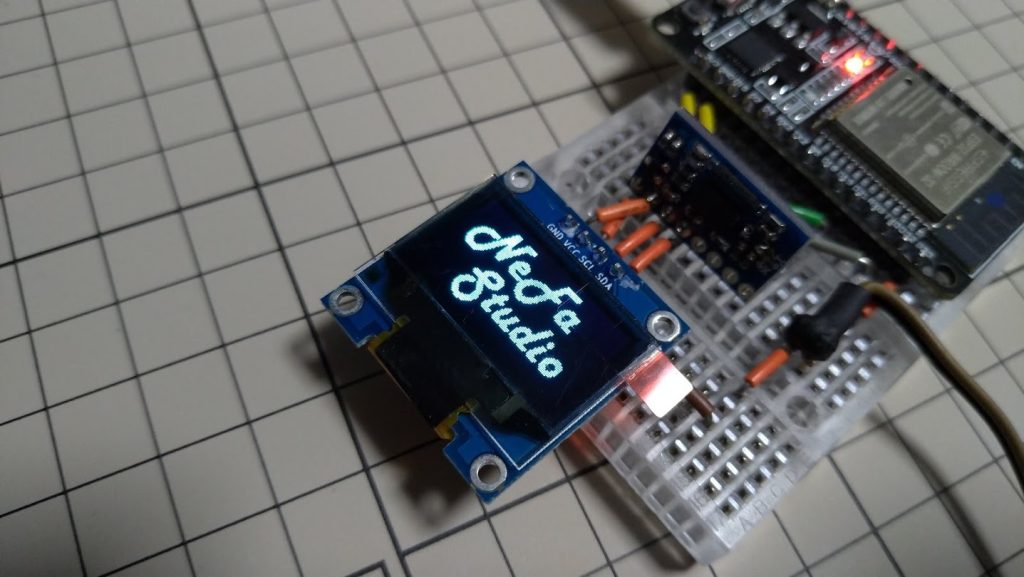
Below are some examples with combination of different library. Since using ESP8266 and Adafruit GFX library results slow display, ESP_Adafruit_SSD1306 library is used.
Arduino + u8glib
#include <U8glib.h>

const unsigned char bootimg[] PROGMEM = {
	0x00, ... 0x00,
};

U8GLIB_SSD1306_128X64 u8g(U8G_I2C_OPT_NONE | U8G_I2C_OPT_DEV_0);   // I2C / TWI

void setup() {
	u8g.begin();
	u8g.setColorIndex(1);
	u8g.firstPage();
	do {
		u8g.drawXBMP( 0, 0, 128, 64, bootimg);
	} while ( u8g.nextPage() );
}

void loop() {
}
ESP8266 + Adafruit GFX
GPIO4 / GPIO5 used for I2C communication.
#include <Wire.h>
#include <Adafruit_GFX.h>
#include <ESP_Adafruit_SSD1306.h>

static unsigned char bootimg[] PROGMEM = {
	0x00, ... 0x00,
};

#define PIN_D1 5
#define PIN_D2 4
static const uint8_t ALT_SDA = PIN_D2;
static const uint8_t ALT_SCL = PIN_D1;

Adafruit_SSD1306 display(-1);
#if (SSD1306_LCDHEIGHT != 64)
#error("Height incorrect, please fix Adafruit_SSD1306.h!");
#endif

void setup() {
	Wire.begin(ALT_SDA, ALT_SCL);
	display.begin(SSD1306_SWITCHCAPVCC, 0x3C);
	display.clearDisplay();
	display.drawXBitmap(0, 0,  bootimg, 128, 64, 1);
	display.display();
}

void loop() {
}
ESP32 + u8g2
#include <U8g2lib.h>

U8G2_SSD1306_128X64_NONAME_F_HW_I2C u8g2(U8G2_R0, /* reset=*/ U8X8_PIN_NONE);

static unsigned char bootimg[] PROGMEM = {
	0x00, ... 0x00,
};

void setup() {
     u8g2.begin();
     u8g2.clearBuffer();
     u8g2.setBitmapMode(false /* solid */);
     u8g2.setDrawColor(1);
     u8g2.drawXBM( 0, 0, 128, 64, bootimg);
     u8g2.sendBuffer();
}

void loop() {
}

This post is also available in: Japanese