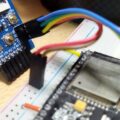
WindowsでMQTTを試す、ごく基本的な操作メモ。Arduinoからの受信用サーバーなどに。
mosquittoのプログラムをインストールする。
https://mosquitto.org/download/
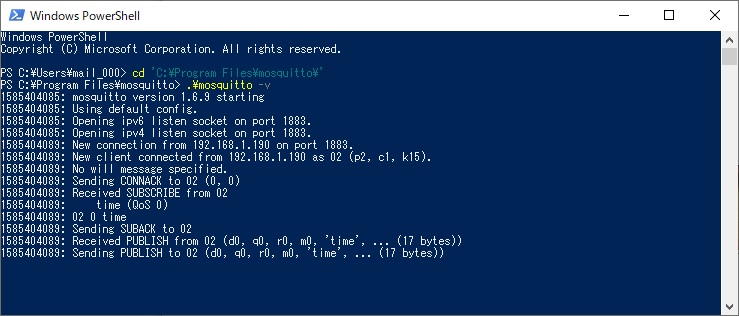
インストール後、powershellを開いてインストールしたフォルダーへ移動する。デフォルトであれば c:\program files\mosquitto
移動したら、サーバーを起動する。デフォルトはポート1883。-v パラメーターでverboseモード。
> mosquitto -v
サーバーを立ち上げるだけならこれだけ。データの受信を確認したいならクライアントも立ち上げる。
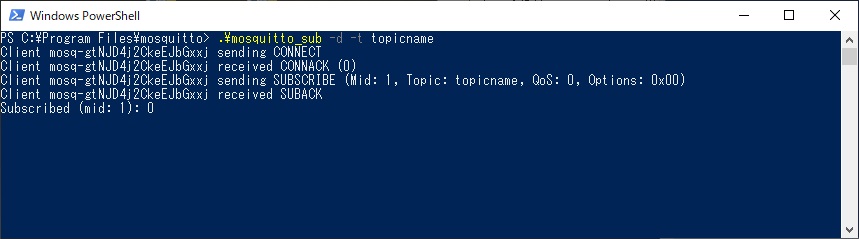
powershellをもう一つ起動し、トピックを開く。トピック名はダブルクオーテーションで囲んでも良い。
> mosquitto_sub -d -t TOPICNAME
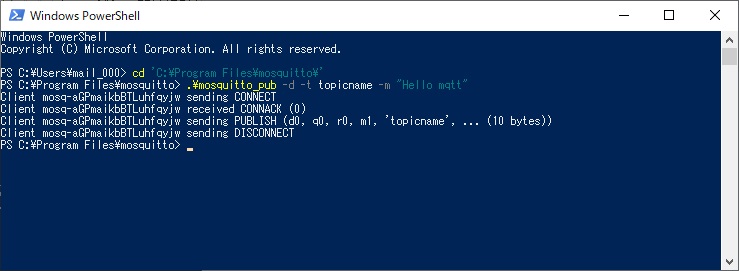
トピックにデータを送信するなら、powershellをも一つ起動し
> mosquitto_pub -d -t TOPICNAME -m "message"
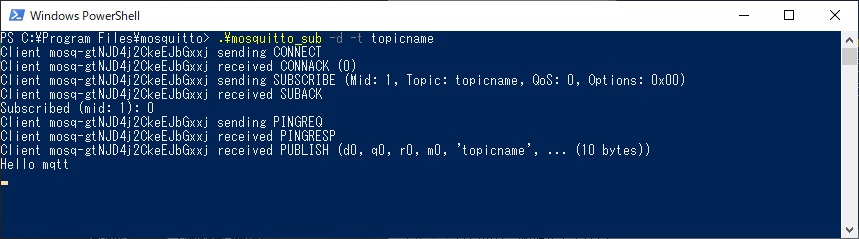
クライアント側に受信したメッセージが表示される。
ローカルのサーバーではなくインターネット上のサーバーを使う場合、例えばtest.mosquitto.orgの場合は下記の様にサーバーを指定する。
> mosquitto_sub -h test.mosquitto.org -d -t TOPICNAME